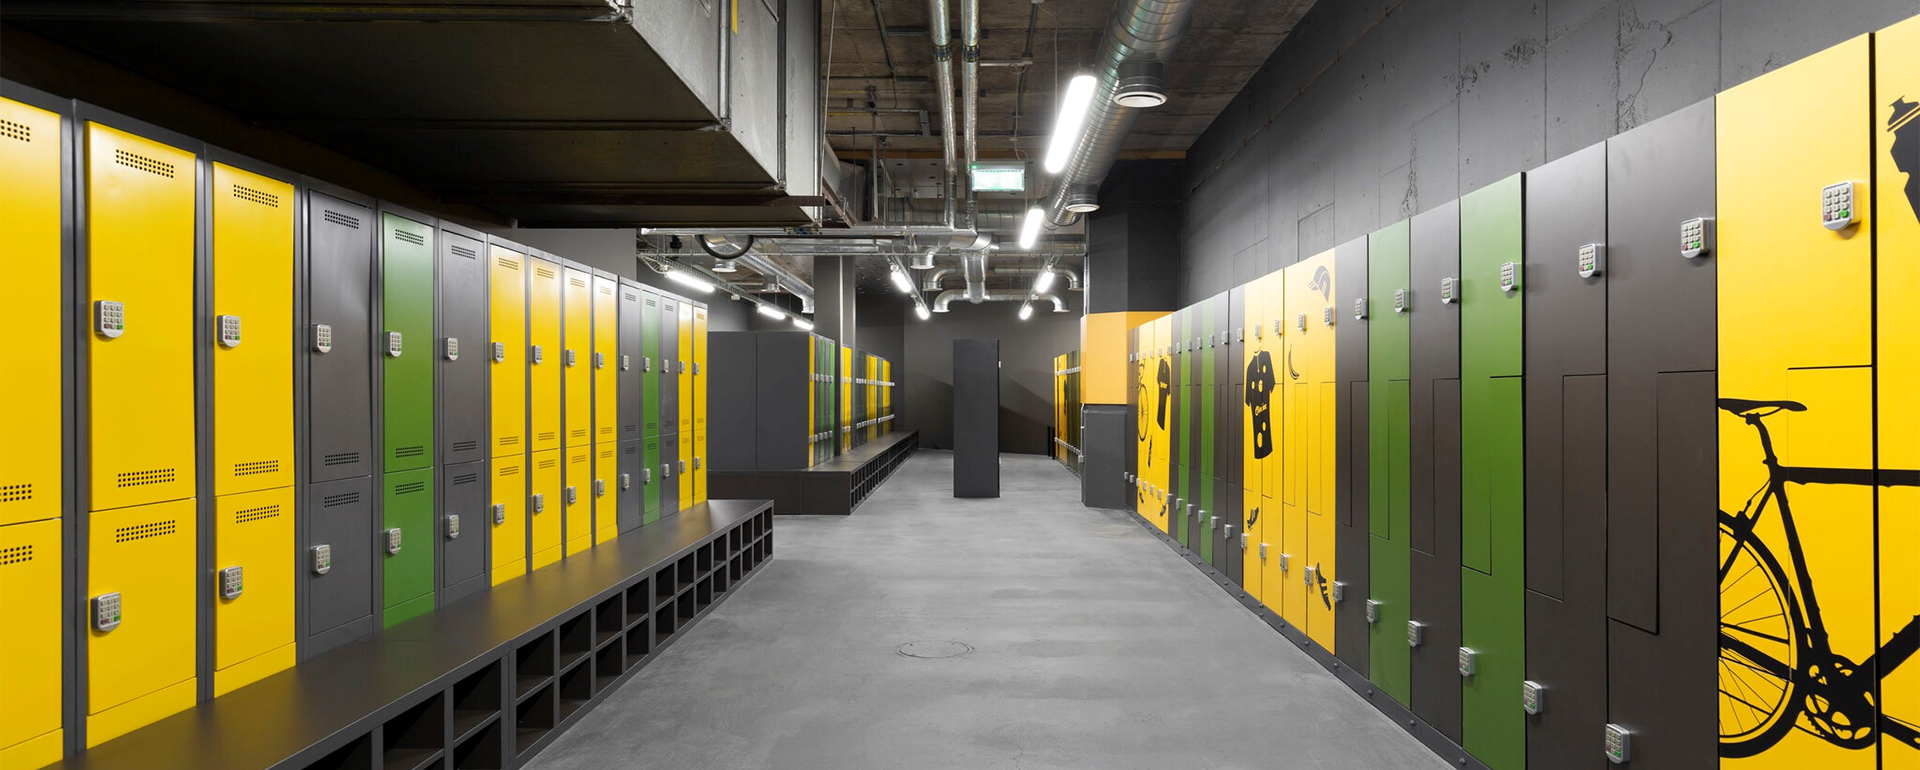
How to Anchor Phone Lockers to Prevent Tip-Over or Theft
Anchoring phone lockers involves securing the unit directly to a structural wall or floor using specialized masonry anchors or heavy-duty lag bolts. This process ensures the locker remains upright during heavy use and prevents unauthorized removal of the entire unit by thieves.
By following this guide, you will:
- Select the correct hardware for concrete or drywall.
- Identify load-bearing anchor points for maximum security.
- Implement anti-theft techniques to prevent hardware tampering.
- Comply with safety standards to minimize facility liability.
Why Anchoring Phone Lockers is Non-Negotiable
Physical security for small-format storage goes beyond just the individual door locks. Because cell phone lockers are often narrow and top-heavy when fully loaded with devices, they present a significant "tip-over" hazard if not properly tethered. A falling locker unit can cause severe injury to users and lead to expensive equipment damage.
Furthermore, "grab and go" theft is a rising concern for facility managers. If a locker is not bolted down, a thief can simply remove the entire cabinet and force open the doors later in a private location. Anchoring creates a permanent foundation that makes theft nearly impossible without industrial power tools.
- Common Mistake: Assuming that the weight of the steel and the devices inside is enough to keep the unit stable.
- Common Mistake: Relying on standard wood screws into drywall without hitting a structural stud.
Identifying Your Mounting Surface: Wall vs. Floor
The effectiveness of your security depends entirely on the material you are drilling into. You must match your drill bits and fasteners to the specific substrate of your facility.
Concrete Floor Anchoring (Best for High Security)
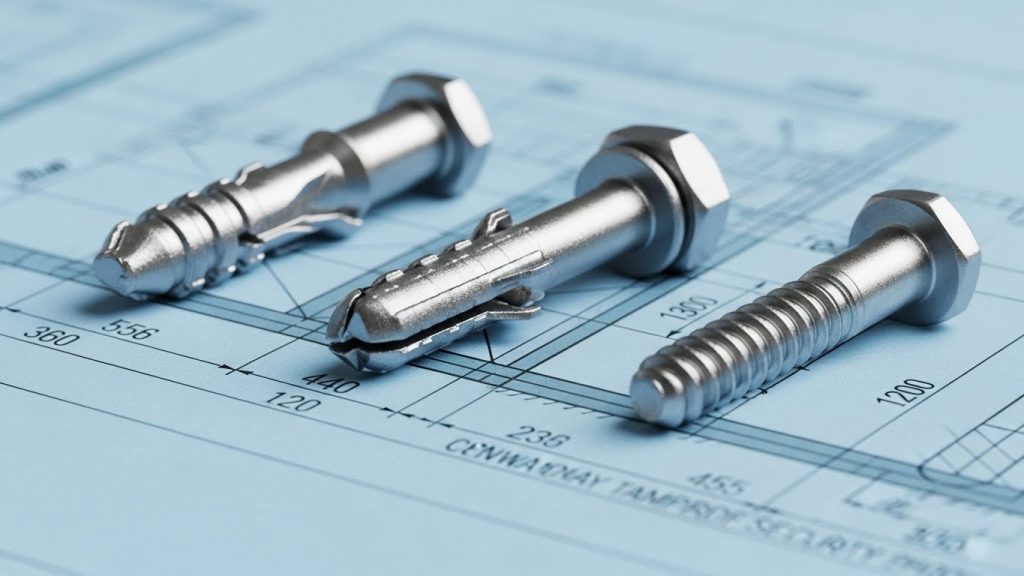
Concrete provides the most secure foundation for cell phone lockers. For high-traffic areas, we recommend using wedge anchors or sleeve anchors. These expand inside the concrete to create a friction-lock that can withstand hundreds of pounds of pull-force.
- Pro Tip: Use 1.0mm galvanized steel lockers, as thinner metals may "tear" around the bolt head if the unit is pried aggressively.
Wall Mounting on Drywall and Studs
When floor mounting isn't an option, you must secure the unit to the wall. Never rely on drywall alone; you must locate the vertical wood or metal studs behind the wall. If a stud is not available at your required mounting point, heavy-duty toggle bolts (butterfly anchors) are the only acceptable alternative, though they offer less security than a direct stud connection.
Anti-Theft Hardware: Going Beyond Standard Screws
Standard Phillips or hex-head screws are easily removed by anyone with a common toolkit. To truly prevent theft, you must utilize tamper-resistant hardware that requires specialized drivers.
- One-Way Security Screws: These can be tightened with a standard driver but cannot be loosened; the head is designed to slip if turned counter-clockwise.
- Tamper-Resistant Torx Bolts: These feature a central pin in the head that prevents standard Torx bits from fitting.
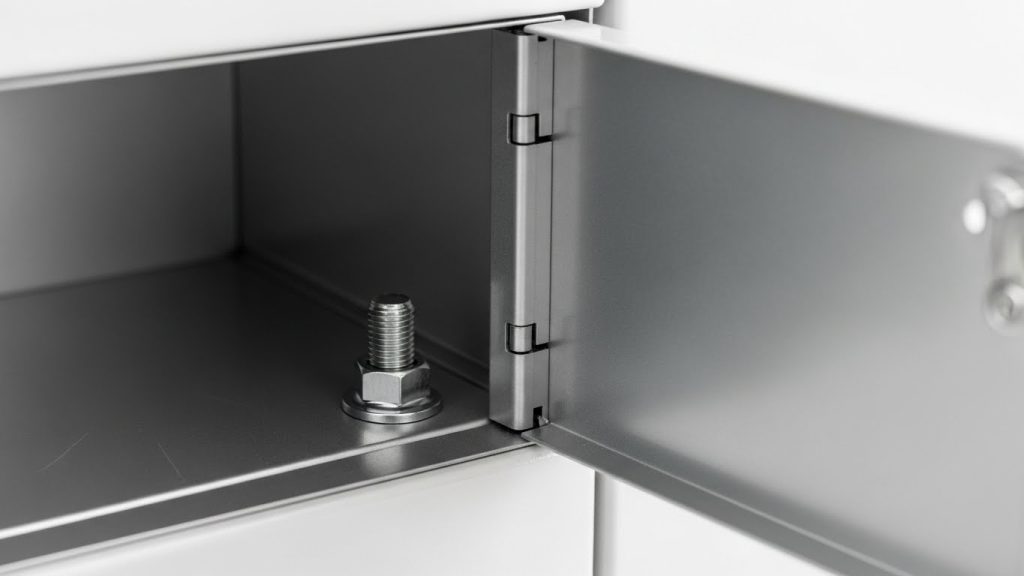
- Hidden Anchor Points: Always place your bolts inside the locker compartments. This ensures that the mounting hardware is only accessible after a compartment is unlocked.
- Common Mistake: Leaving mounting brackets exposed on the outside of the locker cabinet where they can be cut or unscrewed.
Step-by-Step Installation Guide
Follow these steps to ensure a professional, secure installation that meets facility safety standards.
- Measuring and Leveling: Place the locker in its final position. Use a spirit level to ensure the unit is perfectly vertical and horizontal. If the floor is uneven, use metal shims.
- Marking Anchor Points: Use the pre-drilled holes in the back or bottom of the locker as your template. Mark the center of each hole on the wall or floor with a marker.
- Drilling Pilot Holes: Move the locker aside. Use a masonry bit for concrete or a high-speed steel bit for studs. Ensure the hole depth is 1/2 inch longer than the anchor length.
- Engaging the Anchors: Place the locker back into position. Insert your security bolts through the locker and into the holes. Tighten until the unit is flush against the surface with no "wobble."
- Load Testing: Apply firm pressure to the top of the unit, pulling it away from the wall. There should be zero movement.
Compliance Checklist (OSHA & ADA)
Installation must also consider accessibility and workplace safety. In the United States, Are Phone Lockers ADA Compliant and Accessible? is a vital question for any public facility. Generally, the highest operable part of the locker must be no higher than 48 inches for a front reach.
- OSHA 1926.250: Ensure lockers do not block egress paths or fire extinguishers.
- Seismic Anchoring: In earthquake-prone zones, additional "over-the-top" tethering may be required by local building codes (needs verification).
"Safety isn't just about the lock; it's about the foundation. A secure locker is one that becomes part of the building's structure." — Good Lockers Engineering Team.
Frequently Asked Questions (FAQ)
Yes, anchoring is essential to prevent both accidental tip-over injuries and "grab-and-go" theft of the entire unit.
Wedge anchors are the industry standard because they provide the highest pull-out strength in solid concrete.
Yes, but you must use a diamond-tipped drill bit to go through the tile first to avoid cracking, then switch to a masonry bit for the concrete beneath.
What Happens If Someone Forgets a Locker Code or Loses a Key? usually requires a master key or a manager's override code to regain access to the internal mounting bolts.
Always bolt the unit from the inside of the individual compartments so the hardware is inaccessible while the doors are locked.
It is best to wait until the unit is anchored. To learn the process, see How Do You Reset a Digital Phone Locker Code Safely?.
While a handyman can do it, large-scale installations in schools or government buildings often require a certified contractor to ensure building code compliance.
Conclusion
Anchoring your phone lockers is the final and most important step in protecting your facility’s assets and its people. By selecting the right hardware and following a structured installation process, you eliminate the risks of tip-over accidents and opportunistic theft.